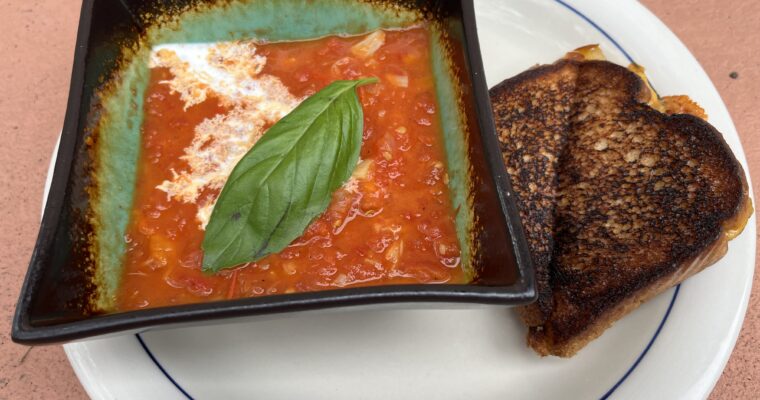
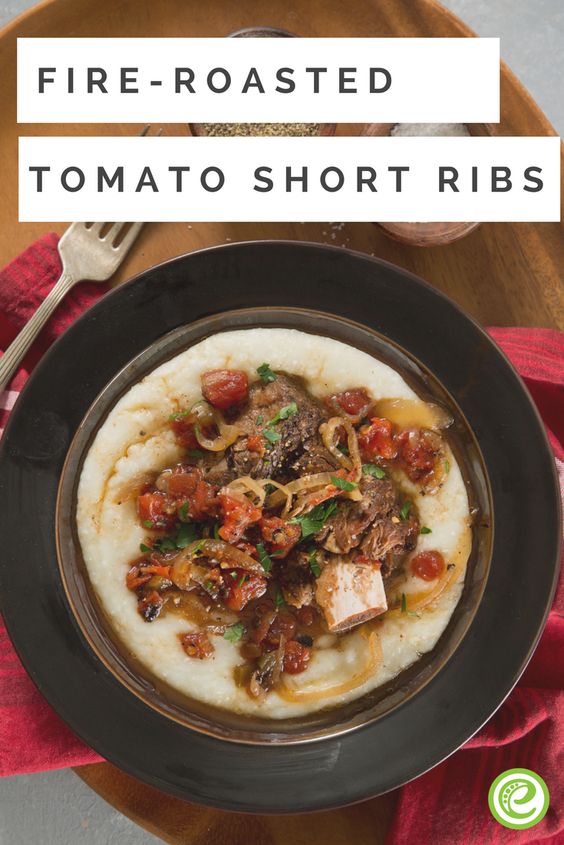
Tomato Soup Without Using The Stove? One of my favorite things about this recipe is that you don’t need to stand over a stove stirring a pot for an hour. The oven does most of the work for you. As the tomatoes, peppers, onions, and […]
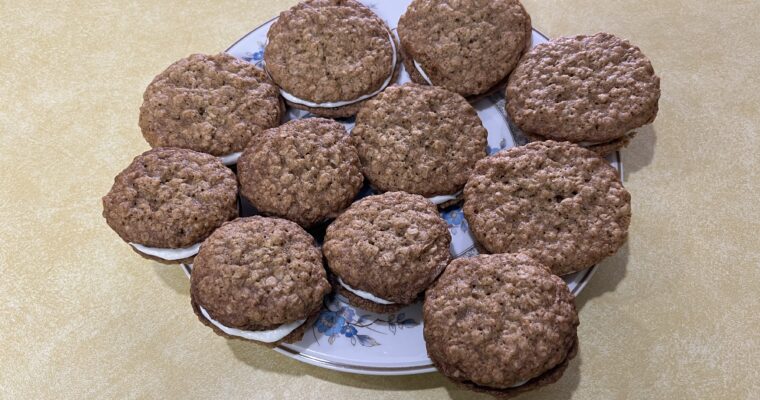
Homemade Oatmeal Creme Pies are the Best Hey everyone Today is a special day because not only am I gonna be making an ordinary recipe, this is a third video for my new series called making nostalgic snacks from my childhood and I’m gonna make […]
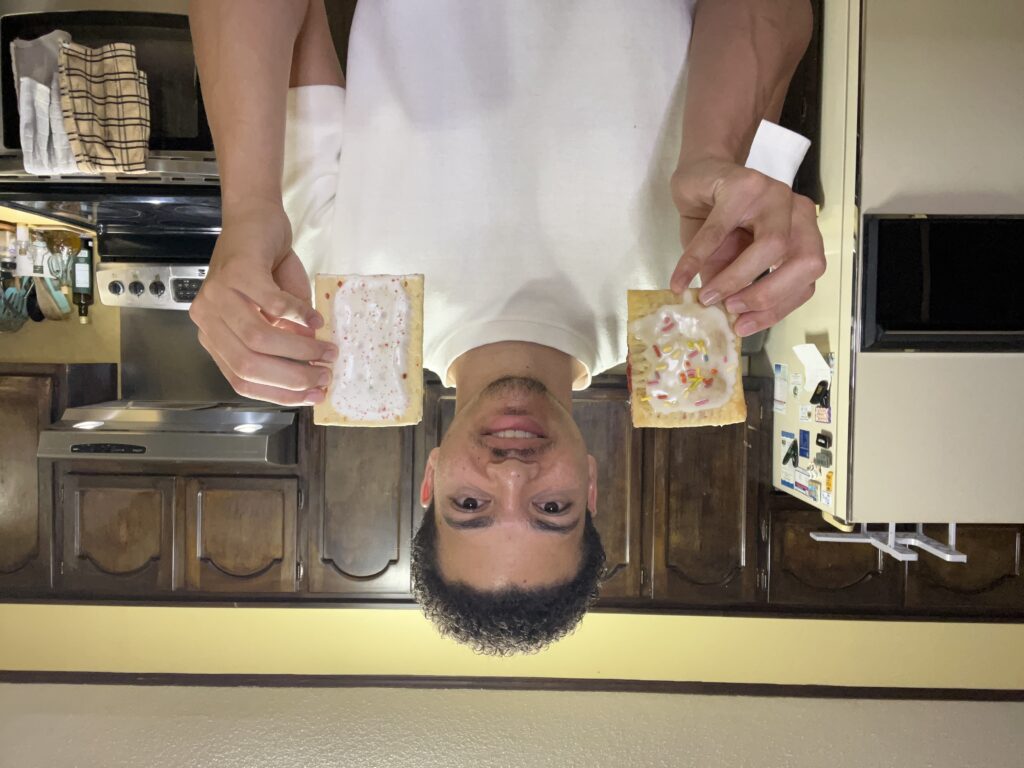
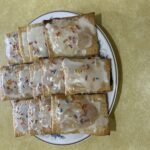
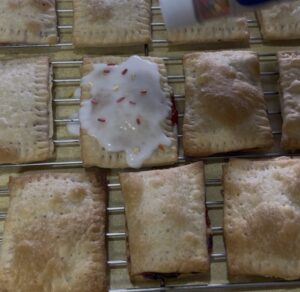
Hey everybody! This is a special post because I am starting a new series on my YouTube channel called making nostalgic snacks from my childhood. I am starting off by making a classic flavor: Strawberry Pop Tarts.
Pop Tarts were really a breakfast or snack that was a part of my childhood that I would pop them in the toaster, take them out, then rush to go to school. For me, it wasn’t just breakfast; it was also considered an after-school snack or even a dessert. I’m not going to lie but I feel like every 2000’s kid did the same thing as me.
If I see pop tarts, I’m probably grabbing one. It’s one of those snacks I grew up on—quick, sweet, and always hitting the spot. But once you make them from scratch, it’s a whole different level.
Homemade pop tarts are flaky, buttery, and packed with real fruit flavor. The crust is crisp on the outside and soft on the inside, and the strawberry filling actually tastes like strawberries—not just sugar. This is one of those recipes that takes a little more effort, but it’s 100% worth it.
Store-Bought Pop Tarts vs. Homemade Pop Tarts
You guys are probably wondering these 2 questions. 1. What is the difference between Store-Bought and Homemade? and 2. Which one is better? Store Bought and Homemade?
Store-Bought Pop Tarts have more ingredients because of the preservatives, artificial flavors, and stabilizers they add to extend how long they last on the shelf and maintain consistency. Homemade Pop Tarts typically use fewer, fresher ingredients, which means that 90% of the time they taste better and don’t last as long.
In my opinion, Homemade tastes 100 times better than store bought because of how I only use 6 to 7 ingredients, everything is made from scratch, and I am using real strawberries to make the filling. Once I tasted the Homemade Version, it changed my life because I can really taste the fresh fruit and I can see that it’s not dry like the store bought version.
Just know if you grew up eating or loving Pop Tarts, wait until you see this recipe because it will blow your mind due to the fact that this will beat store bought.
Also, if you’re wondering what my favorite Pop-Tarts flavor was when I was a kid, my favorite was S’mores.
FYI
Keep your butter cold when making the dough. That’s what gives you a flaky crust.
Don’t overwork the dough or it can turn tough instead of tender.
Make sure the filling is completely cooled before assembling, or it can make the dough soggy.
Don’t overfill the pop tarts or they can leak while baking.
Crimp the edges well with a fork to seal everything in.
Let them cool completely before glazing so the icing sets properly.
Give It Your Own Twist
Once you get the hang of this recipe, you can switch it up however you like. Try different nostalgic flavors like cherry, s’mores or you can even make up a flavor. You can also change the glaze flavors or skip the sprinkles if you want something more simple.
If you grew up on eating Pop Tarts, then you'll love this recipe because this recipe is nothing like the store bought version. If you're wondering what flavor Pop Tarts these are going to be, these are going to be Strawberry Pop Tarts. Strawberry is a classic and I would eat it every morning before school growing up.
Prep Time30mins
Cook Time25mins
Chill Time30mins
Total Time1hr25mins
Course: Breakfast, Dessert, Snack
Cuisine: American
Servings: 13People
Ingredients
For Crust
2 1/2CupsAll Purpose Flour
1tspSalt
1CupUnsalted ButterCold and Shredded
1/2CupIce Water
For Strawberry Filling
1lbFresh StrawberriesHulled and Chopped
1/2CupGranulated Sugar
2tbspsLemon Juice
1tbspsCornstarch and WaterTo Form a Slurry
For Glaze
1CupPowdered Sugar
2tbspsMilk
SprinklesOn Top
Instructions
For Crust
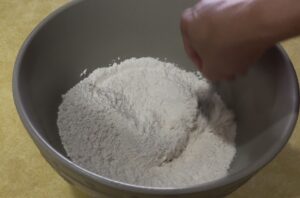
In a large bowl, whisk together the flour and salt.
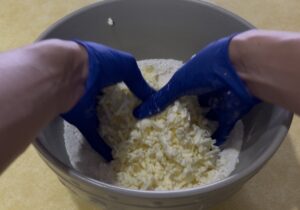
Cut in the cold butter using a pastry blender or your fingers until the mixture resembles coarse crumbs.
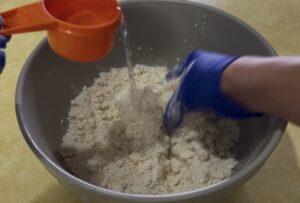
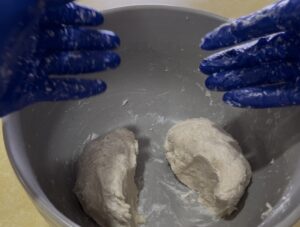
Gradually add the ice water, mixing until the dough just comes together.
Divide the dough in half, flatten each half into a disc, wrap in plastic wrap, and refrigerate for at least 30 minutes.
Make Strawberry Filling
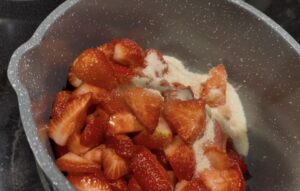
In a medium saucepan, combine the chopped strawberries, sugar, and lemon juice.
Bring to a simmer over medium heat, stirring occasionally.
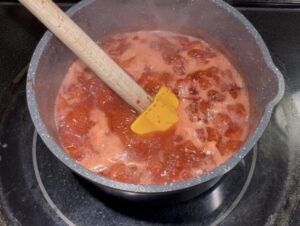
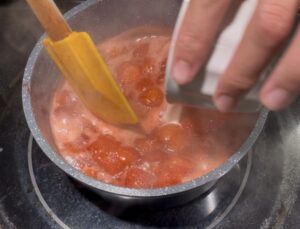
In a small bowl, whisk together the cornstarch and 1 tablespoon of water to form a slurry then pour the cornstarch slurry into the strawberry mixture and stir continuously until the filling thickens, about 1-2 minutes then remove from heat to let the filling cool completely.
Assemble The Pop Tarts
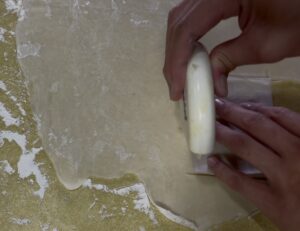
On a lightly floured surface, roll out one disc of dough into a large rectangle, about 1/8 inch thick.
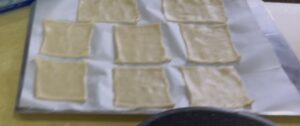
Use a knife or pastry wheel to cut the dough into even rectangles (about 3×4 inches).
Place the rectangles on 2 prepared baking sheets.
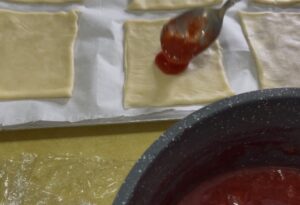
Spoon about 1-2 tablespoons of cooled strawberry filling onto the center of each rectangle, leaving a small border.
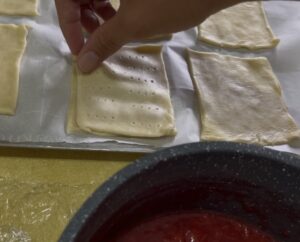
Roll out the second disc of dough, cut it into the same size rectangles, then place the second set of rectangles over the filling, gently pressing the edges to seal.
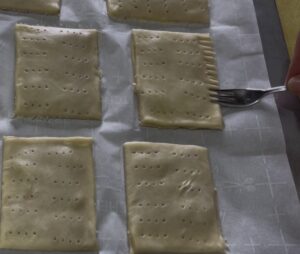
Use a fork to crimp the edges of each pop tart then cut a few slits in the top of each pop tart to allow steam to escape.
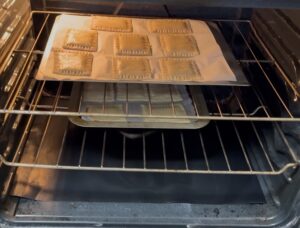
Bake these Pop Tarts in a 375°F oven for 20-25 minutes, or until golden brown then let them cool completely on the baking sheet.
For Glaze
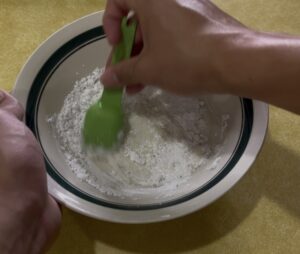
In a small bowl, whisk together the powdered sugar and milk until smooth.
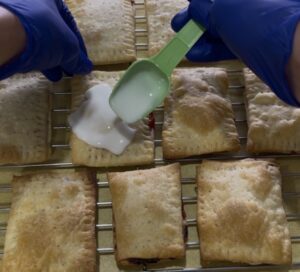
Dip the top of each cooled pop tart into the glaze, or spread the glaze over the top with a spoon.
Immediately sprinkle with sprinkles, if desired then let the glaze set before serving.
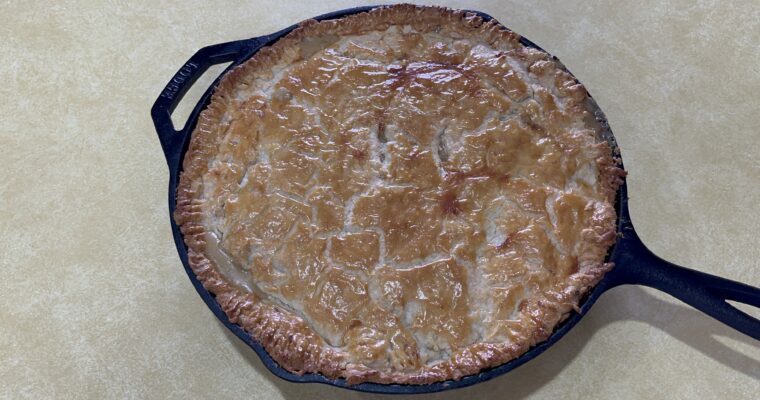
I am Obsessed Homemade Chicken Pot Pie There’s something about chicken pot pie that feels like home. It’s warm, creamy, and packed with flavor in every forkful. Whether it’s a chilly night, a busy week, or I just want something filling and comforting, this dish […]
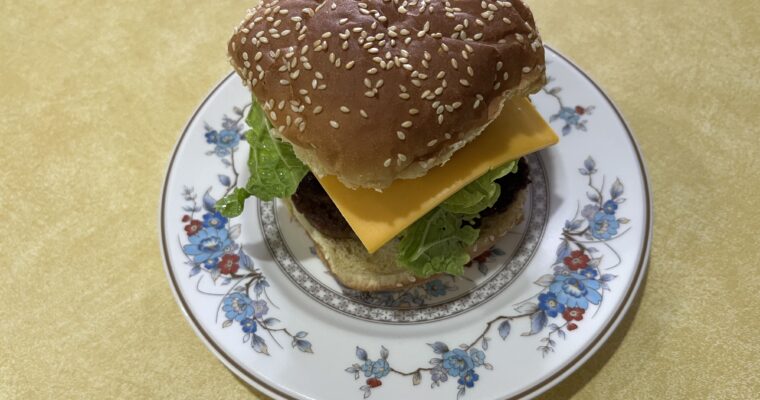
I Love Krabby Patties If you grew up watching the show SpongeBob, then you already know that this recipe is iconic and legendary. It’s juicy, mysterious, and somehow always looked perfect on screen that I really wanted to try this when I was a kid. […]
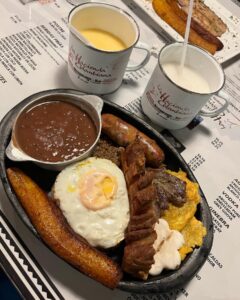
Moving to Panamá was a life change for me of how nice it is.
I moved to Panamá on March 7th 2022 to start my junior year, learn Spanish, and start a new chapter.
The school year differs significantly between states; in Panama, it runs from March to December, whereas in the United States, it runs from August to May or, depending on the state, from September to June.
Everything seemed so unfamiliar to me when I entered my junior year of school. I attended a bilingual private school. The majority of the teachers and all of the students spoke English. The professors of arithmetic, geography, art, and Spanish were the only ones who didn’t know any English at all.
Since I attended a small school, everyone in my grade was in the same class on the first day of junior year. Since I didn’t know a single word of Spanish, my classmates were always willing to help. I always felt included, and I liked making new friends along the way.
There are a lot of mixed-race and foreign-national persons living in Panama.
It is always humid but cool everyday in Panamá.
You can surf, ride bikes on the streets, look at the view, go to the beach, and eat so much heavenly food you can never get in America.
One of the best (and weirdest) things about Panamá is that Sundays are party nights. Every Sunday evening, people go all out at Amador Causeway—where I lived when I first moved there—and Casco Viejo. Sundays are all about relaxing and socializing before the workweek starts, and with many people off, the city comes alive with music, food, dancing, and outdoor fun.
As an American, I never understood why Fridays and Saturdays weren’t party nights. Growing up, Sunday nights always meant school and tests the next day—so partying felt wrong. Now that chapter’s over, and sadly, I’m back in the States.
But visiting Panamá is fantastic, and the prime time to go is between December and April for the best weather. Have a safe trip!
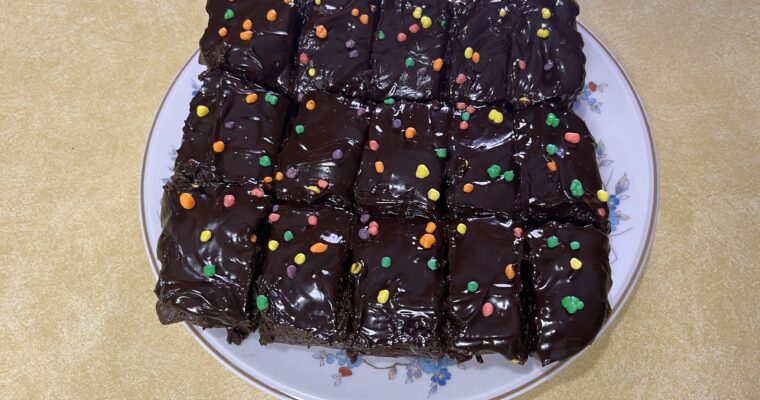
Homemade Cosmic Brownies are the Best Hey everybody! I’m back with a special post since you already know that I started a new series called making nostalgic snacks from my childhood. This is my second post but Today’s recipe is going to be Homemade Cosmic […]
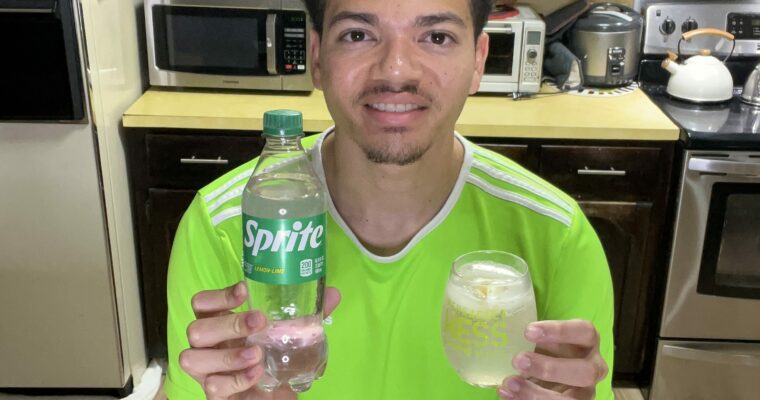
Homemade Sprite? A couple days ago I was really wondering if it was possible to make Sprite from scratch. I recorded a little YouTube short and I called it How To Make Homemade Sprite. So if you love Sprite, Starry, or 7 up, then you […]
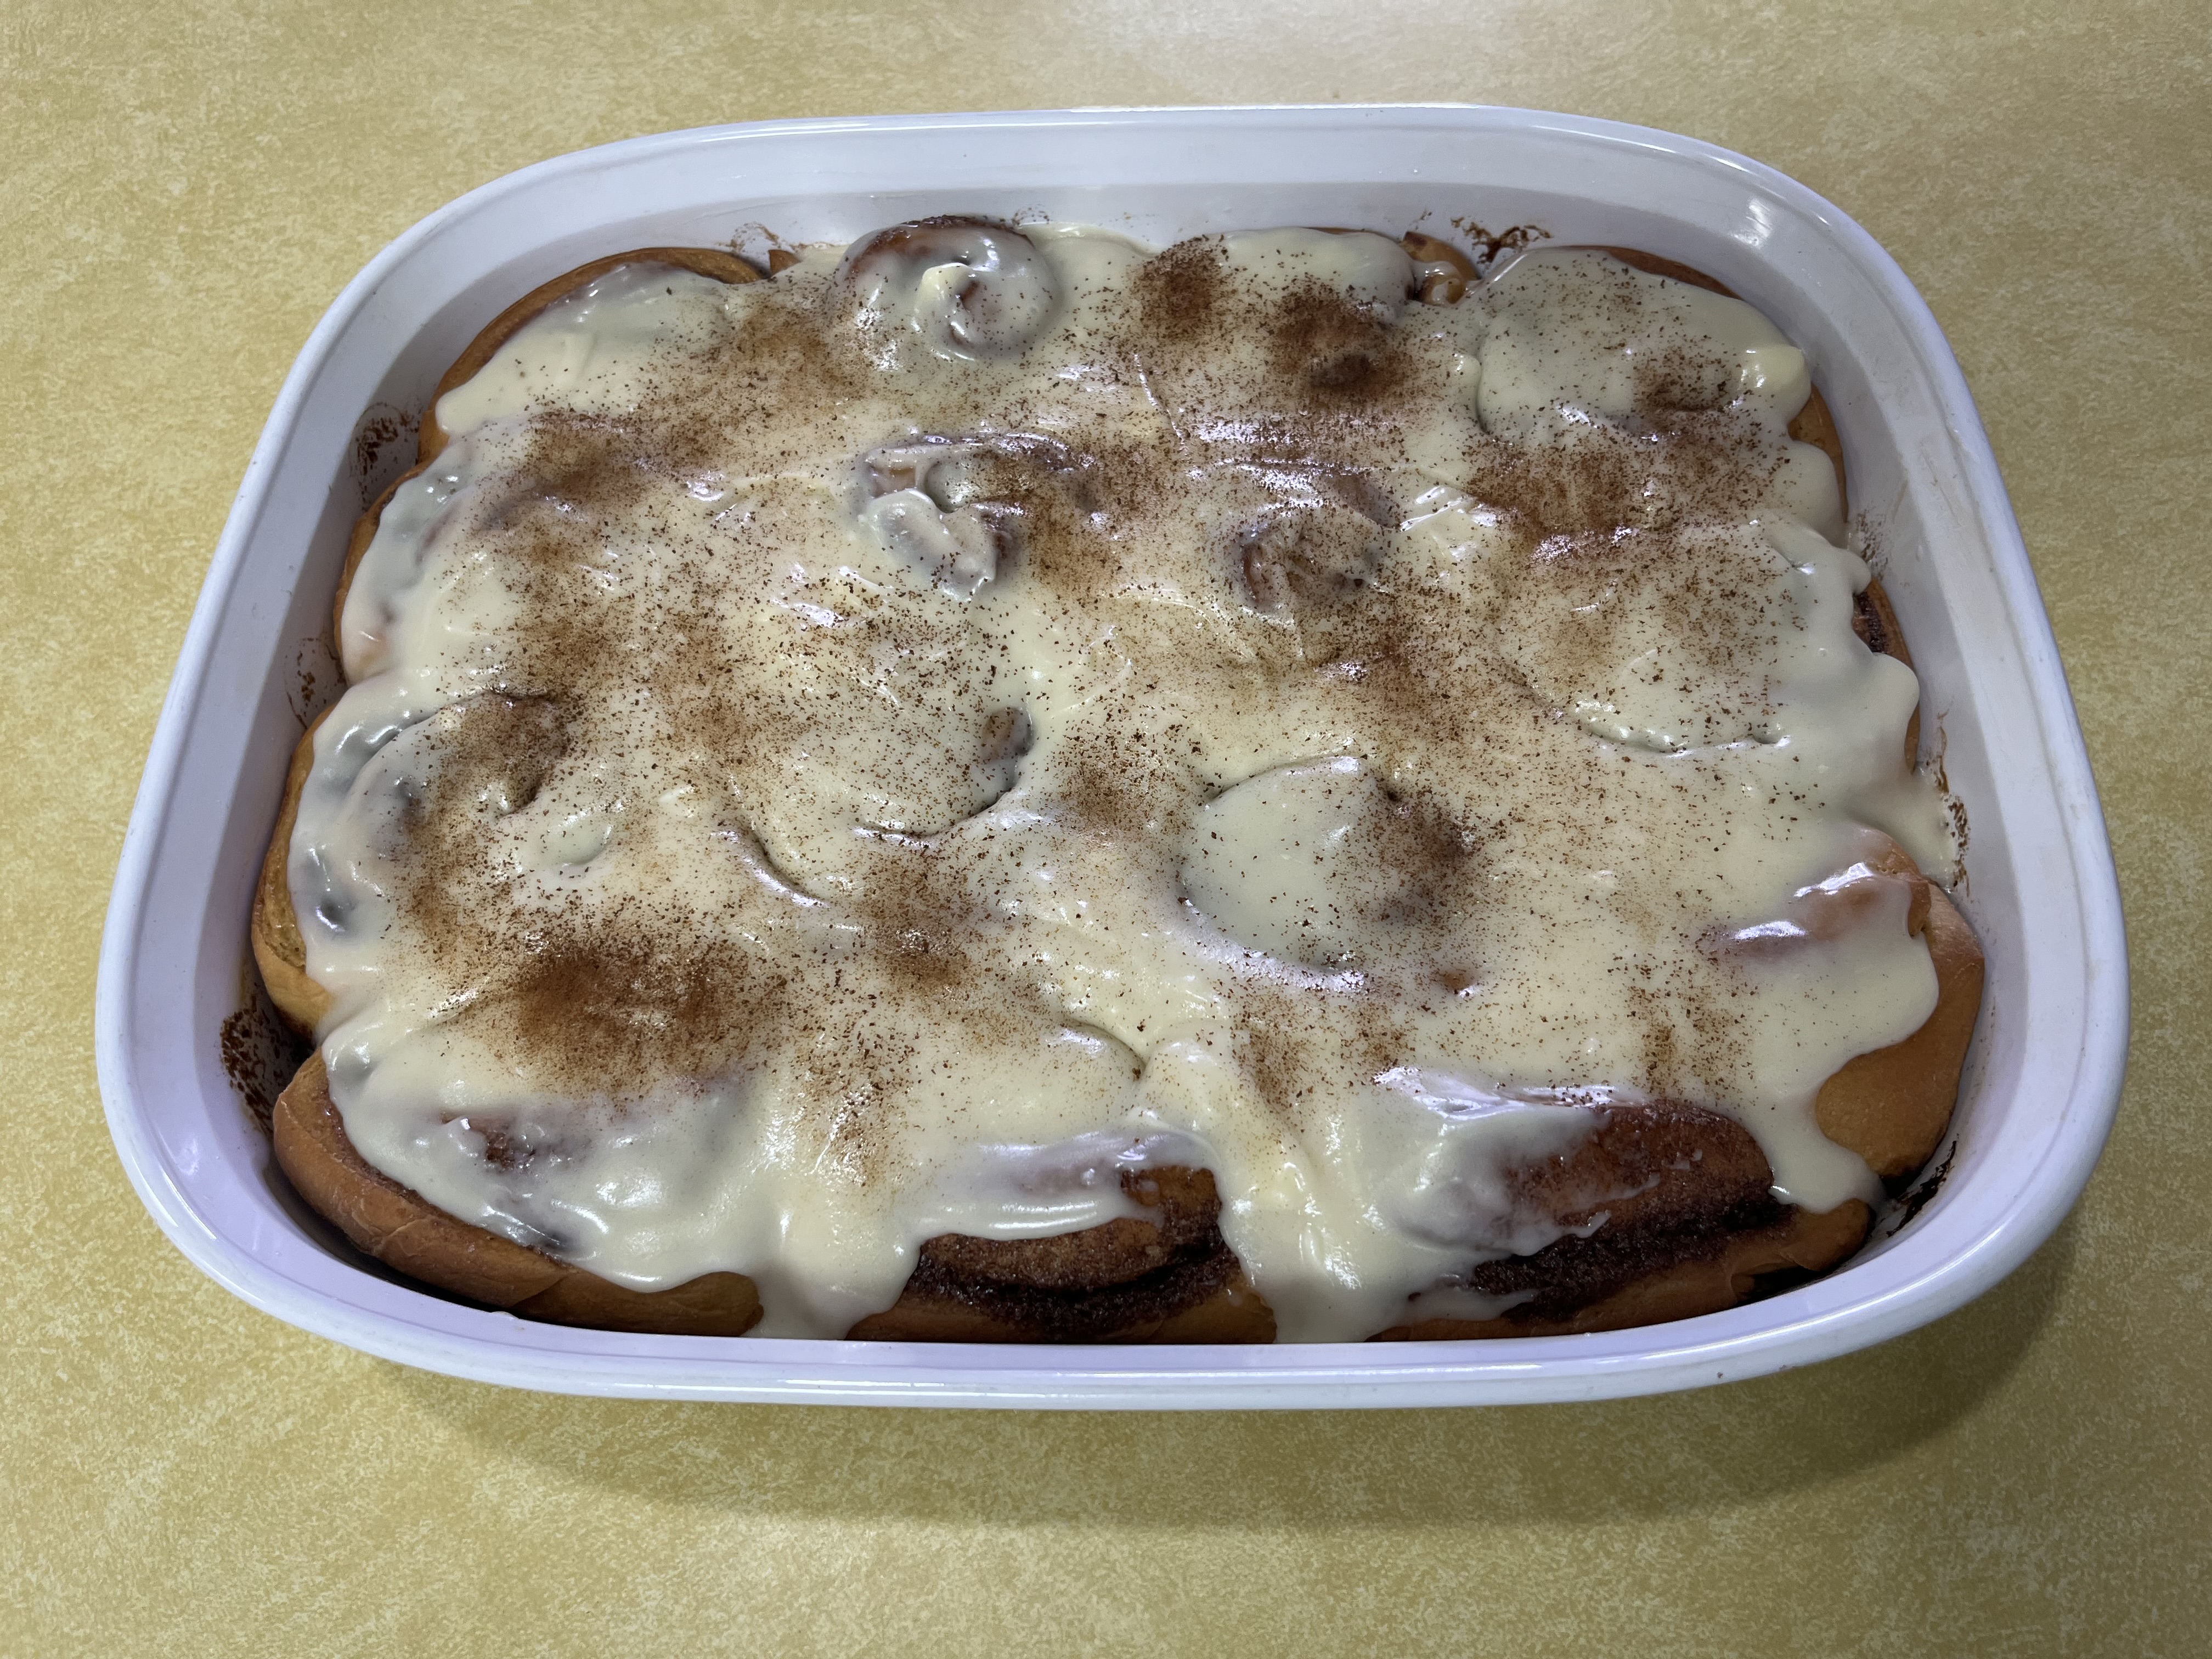
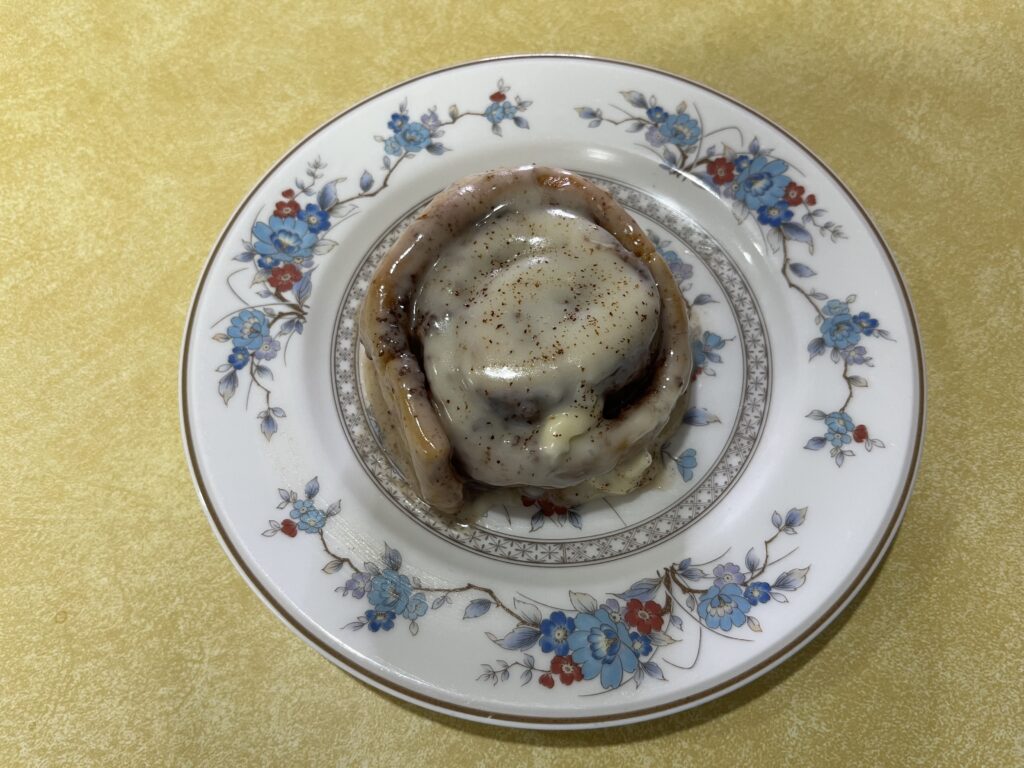
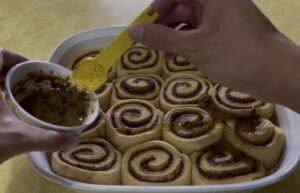
If you’re wondering what espresso cinnamon rolls are, they are a delicious take on traditional cinnamon rolls. It is a combination of soothing sweetness of cinnamon with the rich flavor of espresso. Espresso powder is typically added to the dough, and for an added kick, the filling mixes sugar, cinnamon, and additional espresso.
In these cinnamon rolls, you can really taste a little bit of that espresso and you can really taste the maple in the cream cheese frosting.
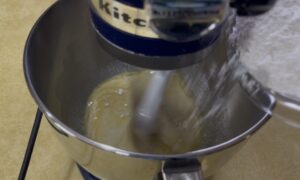
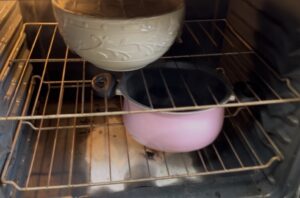
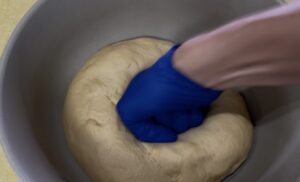
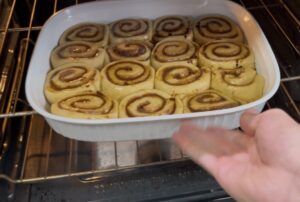
When it comes to making cinnamon rolls or any kind of bread, the best advice I can give you when you want to start and proof your dough is to get a pot full of boiling water and put the dough covered in plastic wrap in a turned off oven. It’s faster to proof and you won’t have to wait an hour for the dough to rise. Since I don’t have a proofer, this is the best method for me.
Origin Of Where I Got The Recipe From
And if you’re wondering where I got this recipe, this recipe is sponsored by my friend Madeline from Culinary School. She inspired me to make this recipe on my YouTube channel and she had the passion to let me try her recipe.
There was one YouTube short I posted about a month ago and we were trying each other’s dishes. I tried her Homemade Espresso Cinnamon Rolls while she tried my Homemade Chicken Pot Pie and my Homemade Banana Pudding. We loved each other’s dishes and to this day we couldn’t stop thinking about how good it was.
FYI
A couple of items I’d like to point out about this recipe:
The milk should be warm, not hot. Too hot will kill the yeast.
Bread flour gives these rolls a softer, more structured texture compared to all-purpose flour.
The espresso powder won’t make the rolls taste like coffee—it just enhances the overall flavor.
Let the dough rise fully. Don’t rush this step or the rolls won’t be as soft.
If your kitchen is cold, let the dough rise in the oven with the light on.
Don’t overbake. You want soft, fluffy rolls—not dry ones.
Easy Homemade Maple Espresso Cinnamon Rolls Recipe
If you really love homemade cinnamon rolls, then you will love this recipe because these are not your average cinnamon rolls – we're kicking things up a notch with a rich espresso-infused dough and a sweet maple glaze that'll have everyone begging for more. I'll guide you through each step, from mixing the perfect dough to rolling and filling these delicious treats. Get ready to impress your friends and family with these irresistible, bakery-worthy rolls!
Prep Time30mins
Cook Time20mins
Rise Time1hr
Total Time1hr50mins
Course: Breakfast, Dessert
Cuisine: American
Servings: 15People
Ingredients
For Dough
1CupWarm Milk (105-115°F)
2 1/4tspsFast-Rising Instant Yeast(1 Packet)
1/4CupGranulated Sugar
1tspSalt
1tbspEspresso PowderAdd to Dry Ingredients
1Egg
4CupsBread FlourPlus more for dusting
For Filling
1/2CupUnsalted ButterSoftened
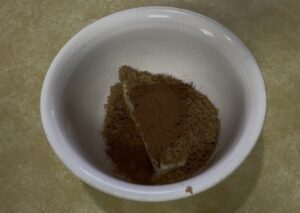
3/4CupPacked Brown Sugar
2tbspsGround Cinnamon
For Coating
1/4CupUnsalted ButterMelted
2tbspsMaple Syrup
1tspEspresso Powder
For Maple Cream Cheese Icing
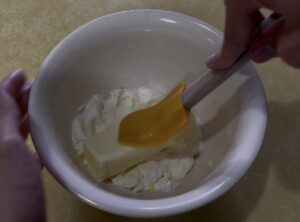
4ozCream CheeseSoftened
1/2CupUnsalted ButterSoftened
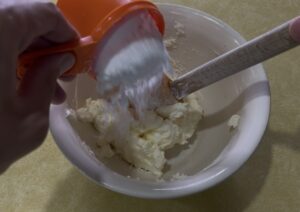
3CupsPowdered Sugar
1/2CupMaple Syrup
1tspVanilla Extract
Instructions
For Dough
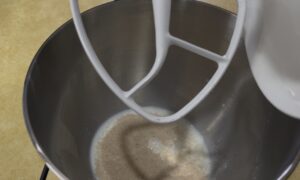
Get a paddle attachment then combine warm milk, yeast, and granulated sugar then stir to dissolve the yeast.
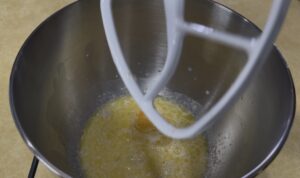
Add salt, melted butter, and egg to the yeast mixture and mix well.
In a separate bowl, whisk together bread flour and espresso powder then gradually add the dry ingredients to the wet ingredients until a soft dough forms.
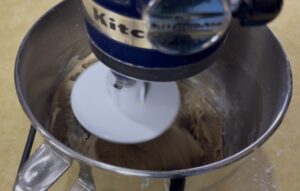
Once that flour is barely combined, switch to a dough hook and knead the dough for about 5 minutes.
Place the dough in a greased bowl, cover, then let it rise for 30 minutes in the proofer or put it in a turned off oven with a pot of boiling water.
For Filling
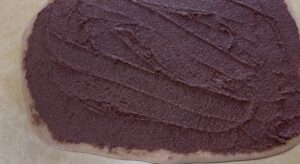
In a medium bowl, combine softened butter, brown sugar, and cinnamon then mix well until combined.
Assemble Rolls
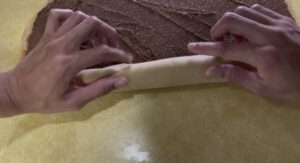
Punch down the risen dough and turn it out onto a lightly floured surface then roll the dough into a 12×18 inch rectangle.
Spread the filling evenly over the dough.
Starting from the long end, tightly roll the dough into a log.
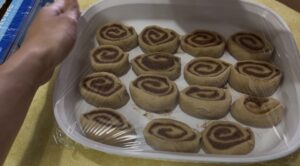
Cut the log into 15 equal slices.
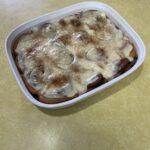
Place the rolls in a greased 9×13 inch baking dish. Cover and let rise for 30 minutes.
You can either pour in 1 cup of heavy whipping cream in the pan of cinnamon rolls before baking or get a small bowl of melted butter then whisk in your maple syrup and espresso powder. Drizzle them before baking for an extra layer of flavor. Since I don't have heavy whipping cream, I have my own method.
Bake the rolls in a 350°F (175°C) oven for 20-25 minutes, or until golden brown.
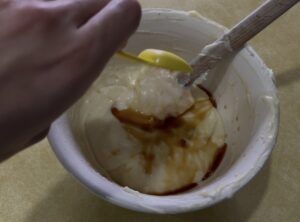
For Icing
In a large bowl, beat together softened cream cheese and butter until smooth and creamy.
Gradually add powdered sugar, one cup at a time, beating well after each addition.
Stir in maple syrup and vanilla extract until smooth.
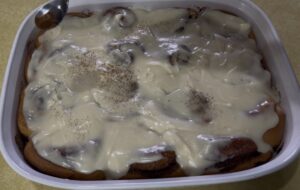
Let the rolls cool slightly before spreading with maple cream cheese icing and sprinkling a dash of espresso powder on top. Serve warm and enjoy!
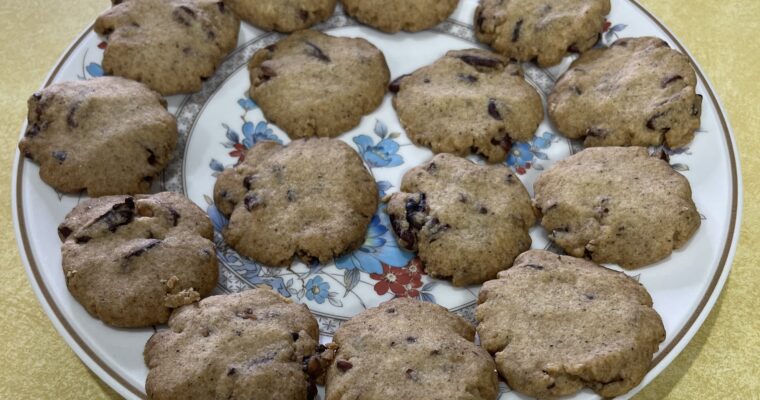
Brown Butter Pecan Sandies are The Best The one thing about pecan sandies or cookies in general is that you have to use brown butter. Lots of times in the past I would make a couple errors about the cookies. Not that they tasted bad […]
Happy Valentine’s Day Everybody Growing up I always saw the Valentine’s Day Sugar Cookies in the stores, I used to beg my parents to buy them for me because I just loved them. I don’t know what it was but they were just amazing. The […]
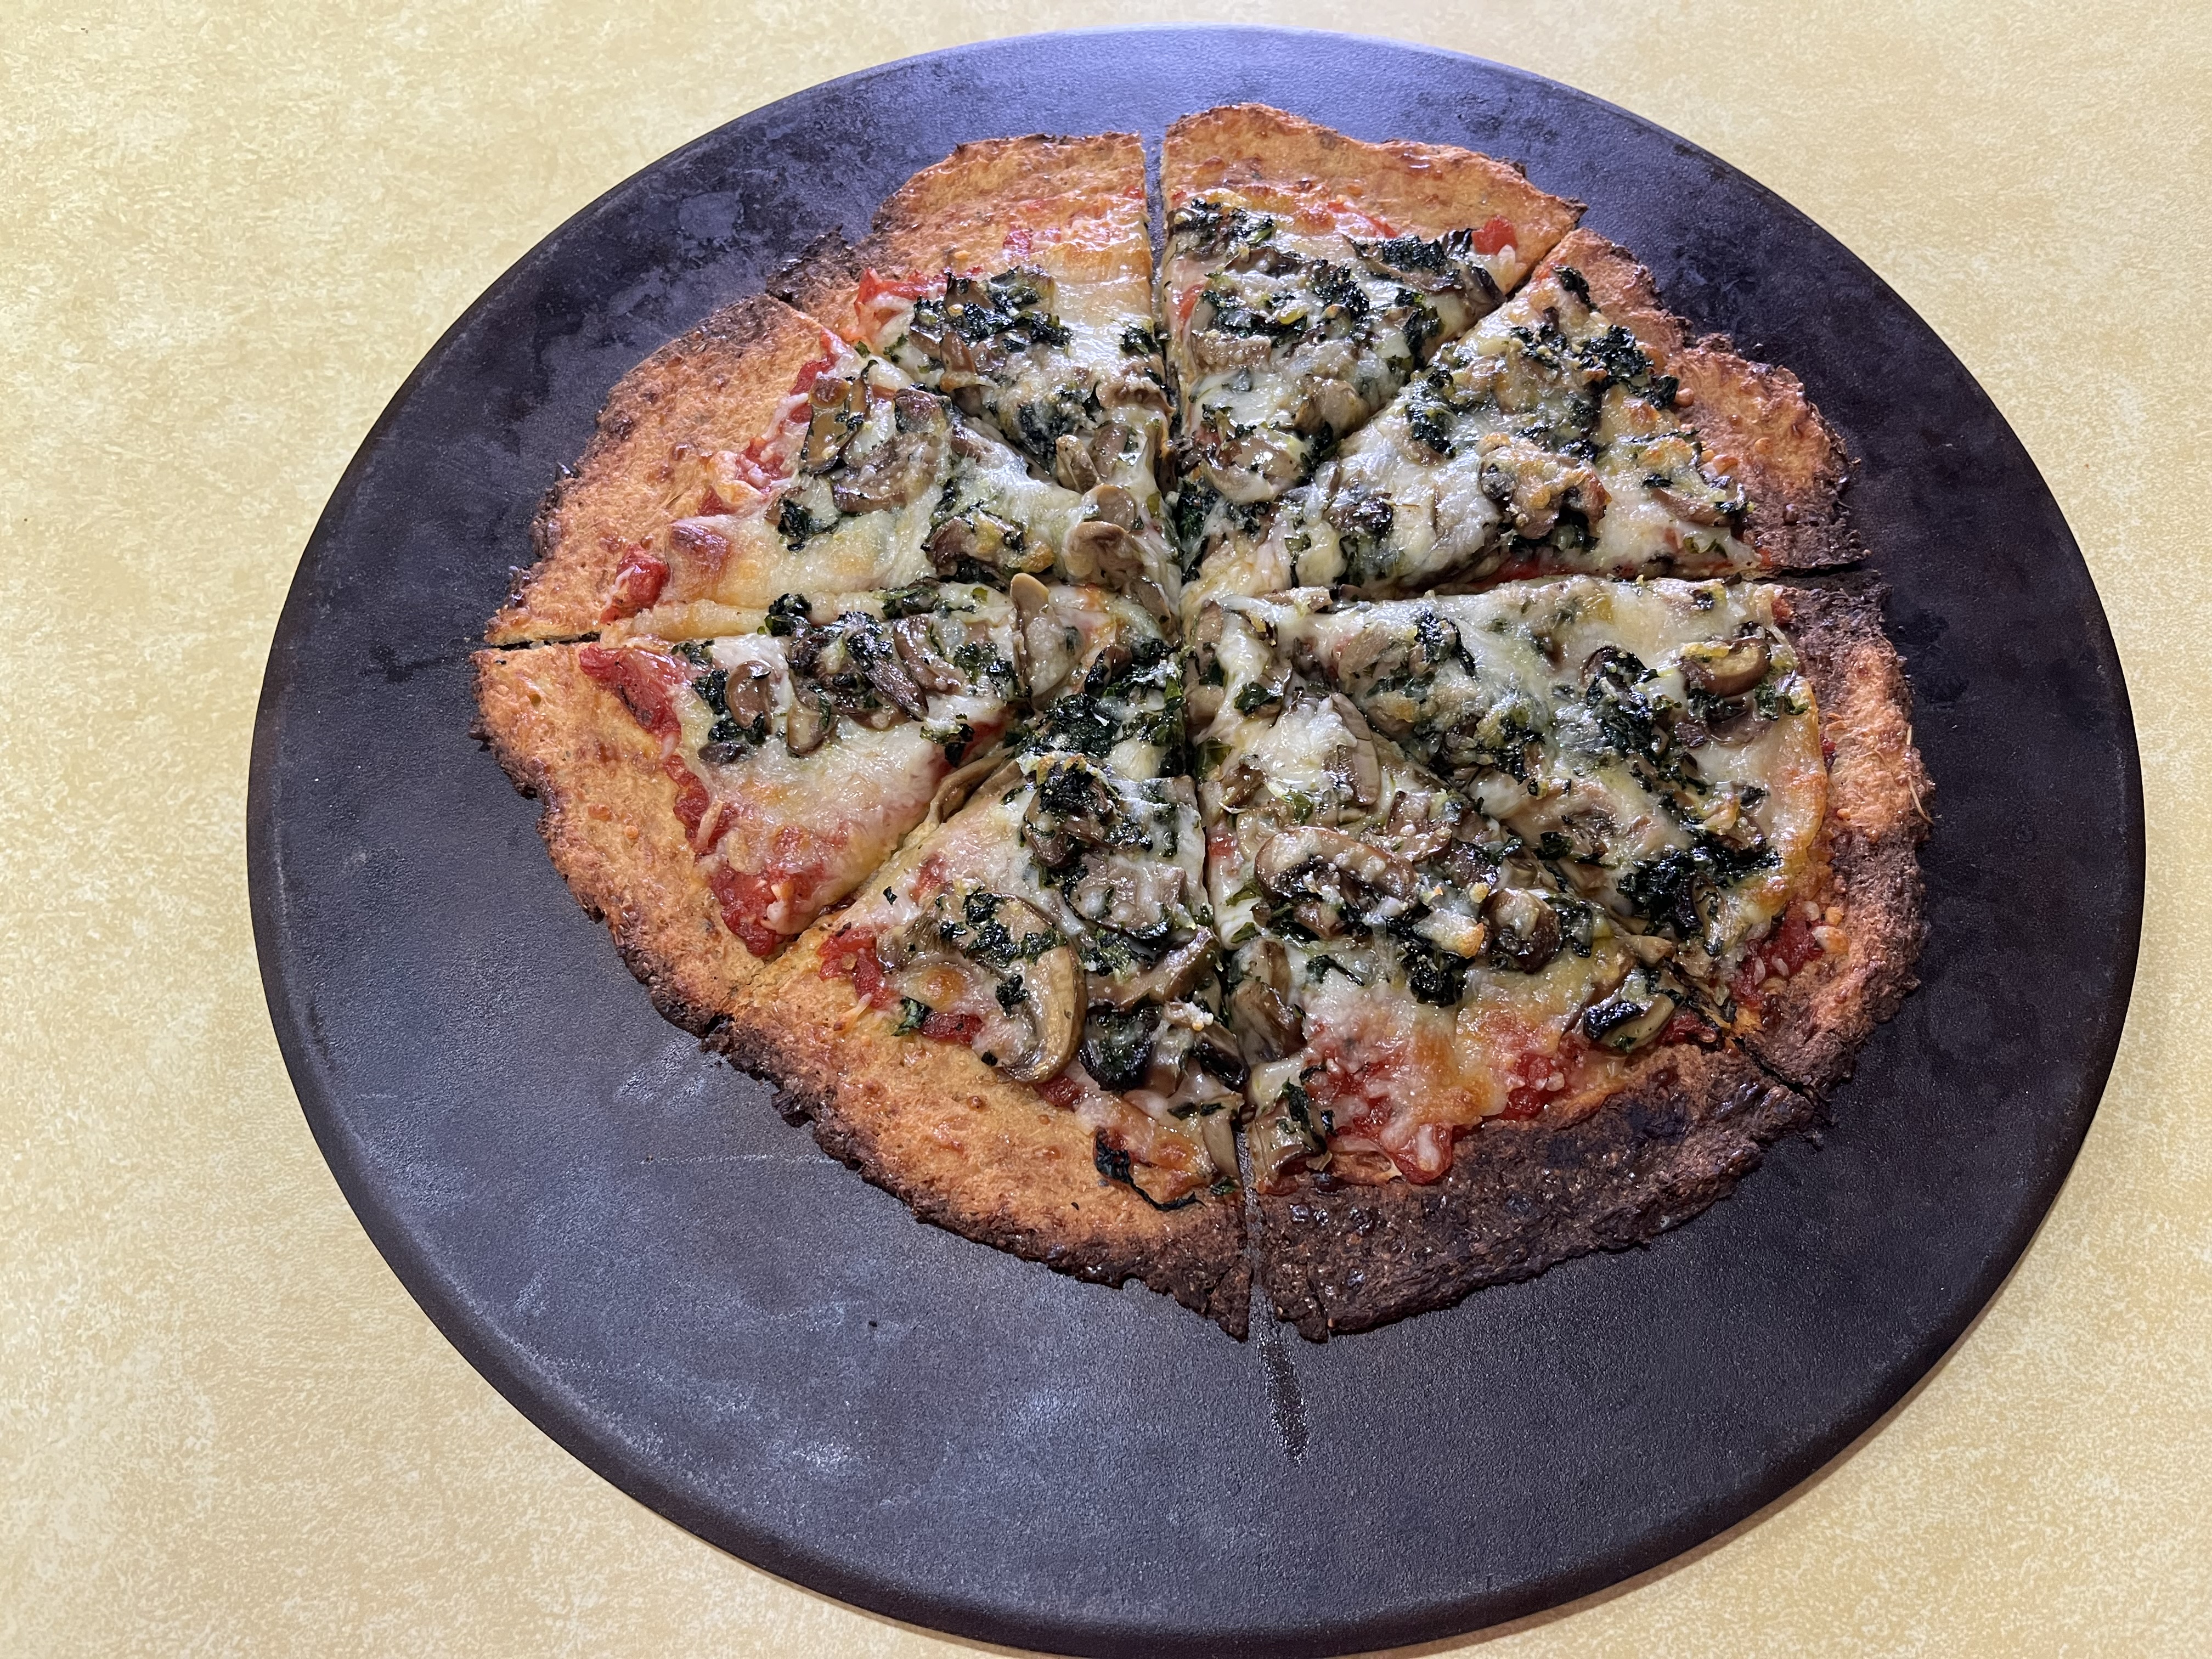
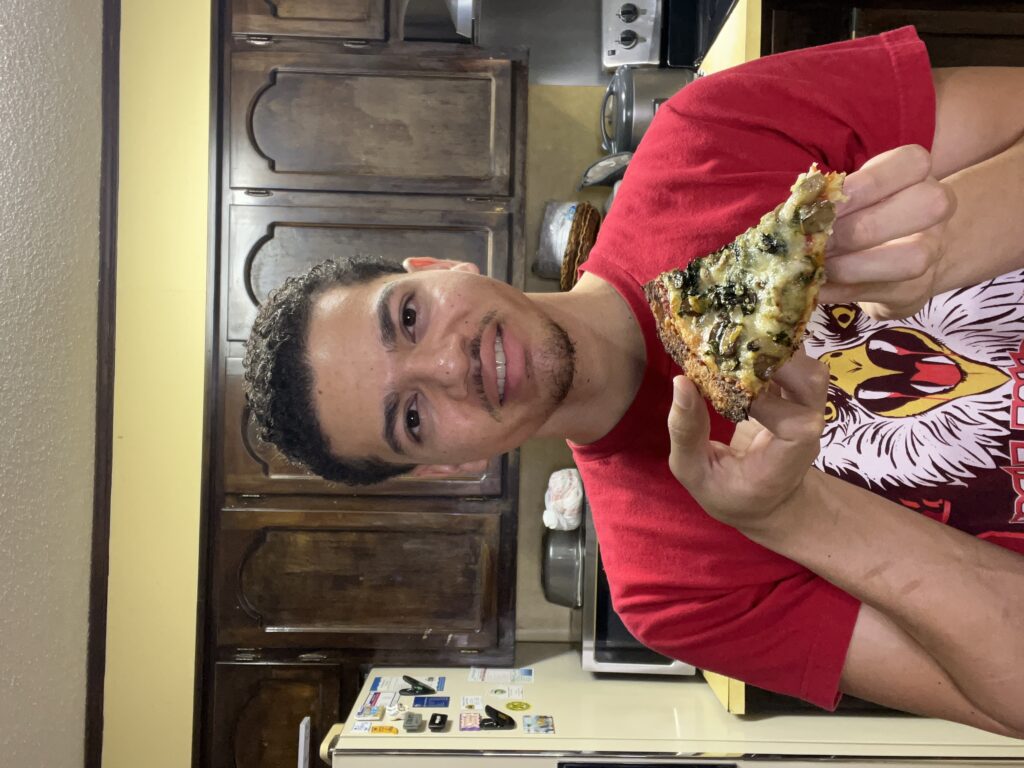
If I see cauliflower pizza on the menu, I’m definitely curious. I love pizza, but sometimes you want something lighter that still feels filling. This is one of my favorite ways to enjoy pizza without feeling weighed down afterward. The crust is crispy, the veggies are fresh, and everything comes together perfectly. It is gluten free, carb free, loaded with veggies, and really cheesy.
Spinach, kale, and mushrooms are a great combination because they bring flavor, texture, and balance to the pizza. It’s healthy, satisfying, and still feels like comfort food. This is one of those dishes you can enjoy without guilt and still feel like you treated yourself.
Pizza Without Flour? No Problem
Ditch the flour, cut the carbs, and embrace the cauliflower. This is the Ultimate Pizza Crust and it will change your life. I know what you are thinking – you just want to go to a pizza place and order pizza. Trust me on this one because this isn’t just a trendy substitute; it’s a game-changer for anyone looking to cut carbs, sneak in extra veggies, or simply try something new and exciting.
From selecting the right cauliflower to mastering the baking process, I’ll share my tips and tricks for achieving a crispy, sturdy crust that can hold all your favorite toppings. Get ready to experience pizza in a whole different level because you know what they say “Don’t knock it until you try it.”
FYI
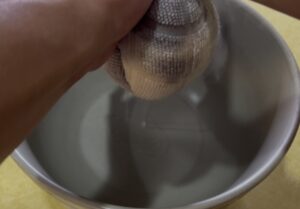
The most important step is squeezing all the water out of the cauliflower. Too much moisture will make the crust fall apart.
Baking the crust first helps it get firm and crispy before adding toppings.
Use parchment paper so the crust doesn’t stick to the pan.
You can use fresh or frozen cauliflower rice, just make sure it’s fully drained.
Don’t overload the pizza with toppings or it will get soggy.
Fresh vegetables work best for flavor and texture.
If you're looking for a low carb recipe but still love pizza, this recipe is a great and healthy alternative. This is my favorite way to make cauliflower pizza. It’s crispy, flavorful, and loaded with fresh vegetables. Hope you enjoy my recipe.
Prep Time25mins
Cook Time45mins
Total Time1hr10mins
Course: Main Course
Cuisine: Italian
Servings: 8People
Ingredients
For Pizza Crust and Toppings
1Medium Head Cauliflower, Riced
1tspSalt
1/2tspGarlic Powder
1/2tspOregano Leaves
1/2tspBasil Leaves
1/4CupGrated Parmesan Cheese
1Large Egg, Beaten
1CupShredded Mozzarella Cheese, Divided
1tbspOlive Oil
1CupSliced Mushrooms
1CupChopped Kale
1CupChopped Spinach
For Pizza Sauce
14.5ozDiced Tomatoes
1/2tspOregano Leaves
1/2tspBasil Leaves
1/8tspMinced Garlic or Garlic Powder
1tspTruviaBalances Acidity
1tspSalt
1tspBlack Pepper
1/2tspOlive OilFor Richer Flavor
Instructions
For Pizza Crust and Toppings
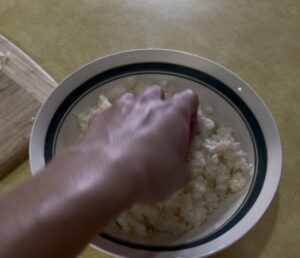
Steam or microwave the riced cauliflower until tender, about 6-7 minutes. Let cool slightly.
Place the cooked cauliflower in a clean kitchen towel or cheesecloth and squeeze out as much moisture as possible. This is crucial for a crispy crust.
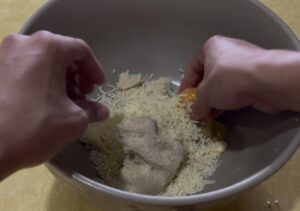
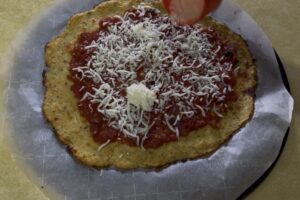
In a bowl, combine the squeezed cauliflower, salt, garlic powder, Italian seasoning, Parmesan cheese, egg, and 1/2 cup of the mozzarella cheese. Mix well.
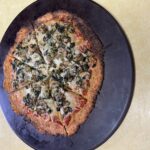
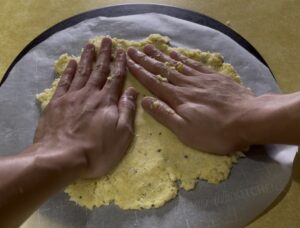
Transfer the cauliflower mixture to the prepared baking sheet and shape it into a pizza crust about 12 inches in diameter.
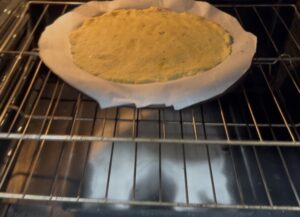
Bake in a 400°F oven for 20-25 minutes, or until the crust is golden brown and set.
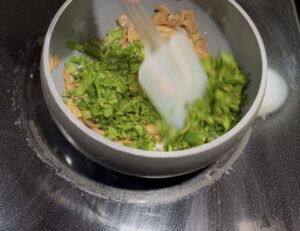
While the crust is baking, heat the olive oil in a skillet over medium heat. Add the mushrooms and cook until softened and lightly browned, about 6-7 minutes.
Add the kale and spinach to the skillet and cook until wilted, about 3-5 minutes. Remove from heat.
For Pizza Sauce
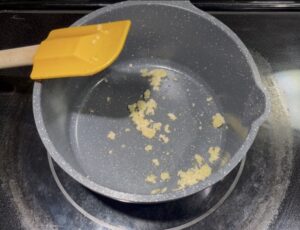
In a saucepan, heat olive oil, then sauté your minced garlic, then combine the diced tomatoes, oregano, basil, truvia, salt, pepper, and olive oil.
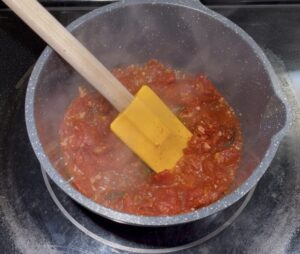
Bring the mixture to a simmer over medium-low heat.
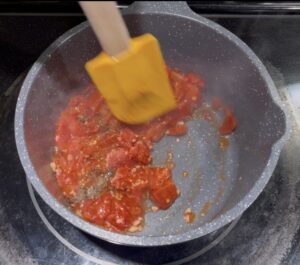
Once simmering, reduce the heat to low and cook for about 15-20 minutes, stirring occasionally. This will help the sauce thicken and the flavors combine.
Taste the sauce and adjust the seasonings as needed.
Remove from heat and let cool slightly before using.
Assemble The Pizza
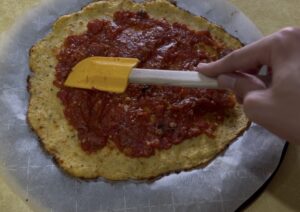
Remove the crust from the oven and spread the pizza sauce evenly over the crust.
Sprinkle the remaining 1/2 cup of mozzarella cheese over the sauce or enough to your preference.
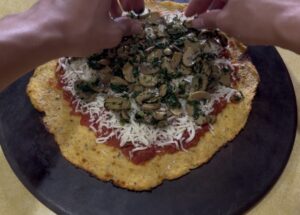
Top with the mushroom, kale, and spinach mixture.
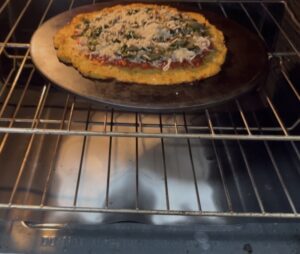
Return the pizza to the oven and bake for another 15-20 minutes, or until the cheese is melted and bubbly and the toppings are heated through.
Let the pizza cool slightly before slicing and serving.
I Love Stranger Things Hello Stranger Things fans. Today I am making Erica Sinclair’s Knockout Pie inspired by Season 5 of Stranger Things. Ever since Season 5 came out, I’ve been so addicted to Stranger Things that I just can’t stop thinking or talking about […]
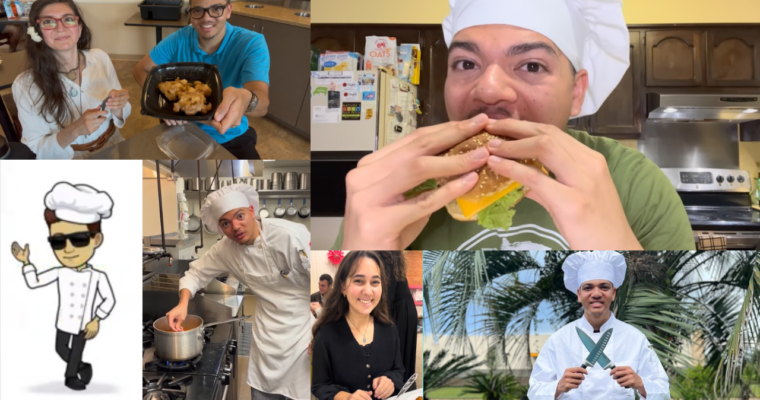
Hey guys, if you want to see what else Sazón has been up to, go check out his YouTube shorts that he has been posting for the past few months. You won’t just see cooking videos because you are going to some shenanigans going on […]
On Cinco de Mayo I made a refreshing cocktail and Nel asked if I could show his audience how to make it. We recorded a quick YouTube video and I called it a Mexican Moscow Mule, but I stand corrected. It makes no sense to call it Mexican and Russian at the same time, right? So, it’s called a “Mexican Mule!”
A Proud Father
Oh, I guess I should introduce myself. I’m NelSazon’s Dad,
Mel. My son Nel is a serious foodie and he loves to cook, as you may already
know. Ever since Nel was about 7 years old he would watch me grill during
barbecues and he would always ask to help. He even started taking notes as he
got older.
This kid has the work ethic and necessary discipline to be a success in the field of cooking. He is eager to go to any cooking class available to him. He loves going to foodie events. He’s begged to start a YouTube channel for years. He never gave up asking. Finally, my wife and I allowed him to start filming his cooking at age 13. Once he uploaded his first video his interest in sharing recipes with the world quadrupled! I’m a very proud Dad.
Adult Audiences Only!
So, back to the Mexican Mule. This is for adult audiences so kids, only allow your parents to try this at home! The Mexican Mule can be enjoyed all year round, but I came up with this concoction on Cinco de Mayo. I mean, what’s Cinco de Mayo without tequila? Forget a margarita. Well, maybe not forget, but try a more chic tequila drink. There are only 5 items you’ll need so this recipe and the prep is quite easy.
Mexican Mule
As a fan of the famous Moscow Mule which uses vodka and ginger
beer, the Mexican Mule replaces vodka with tequila. There are plenty of variations
of the Moscow mule, but I have to say this is at the top of my list of mule
drinks. The Mexican Mule is such a refreshing drink. We live in Florida and
it’s hot most of the year and a cooling lime infused cocktail like this is
perfect on hot humid days.
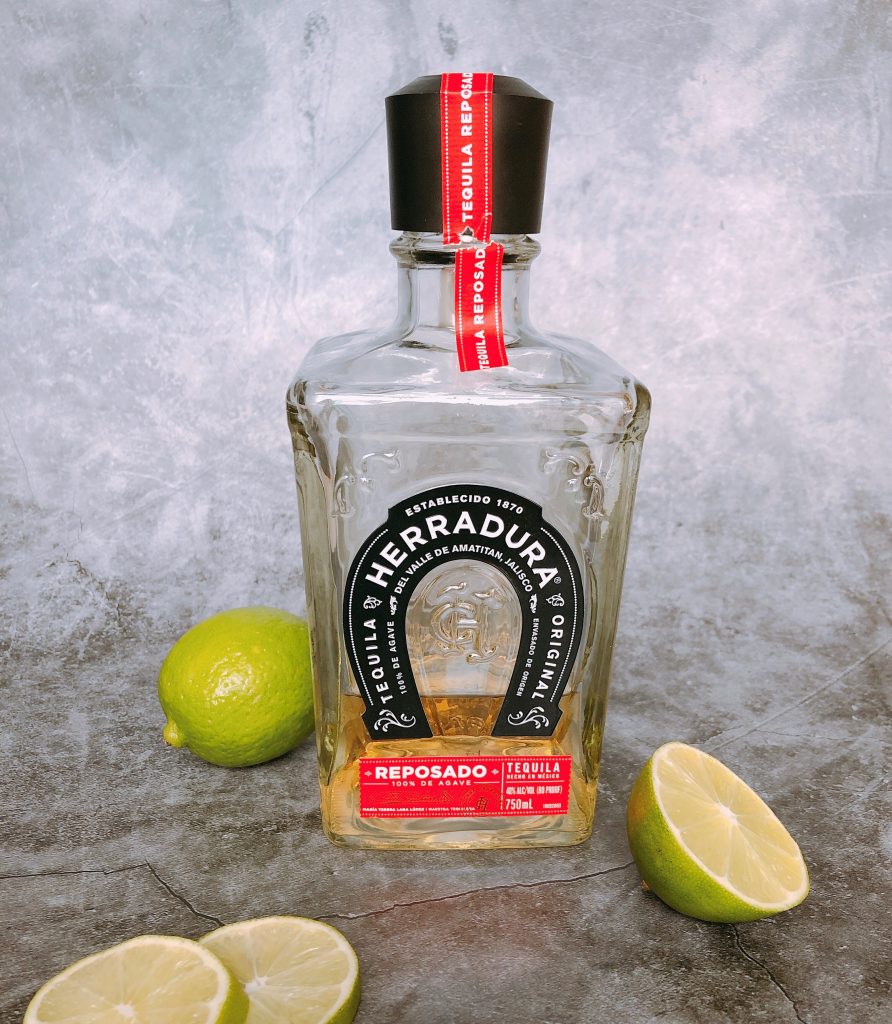
My recommendation is to use a reposado style tequila. Reposado tequila is perfect for mixed drinks. It is aged for 2 months to a year in white oak. The flavor of blue agave and slight aging gives this tequila a more mellow, rounded flavor.
A Short History Lesson
In this recipe I used Herradura Reposado Tequila. Herradura is actually aged for 11 months in oak barrels. A little history lesson: It is the first reposado tequila invented in 1870. Herradura is made in a place called Hacianda San Joe del Refugio. According to herradura.com, this is the last tequila-producing Hacienda on the planet. What’s a Hacienda? They are profit-making large estates built in the 18th or 19th century. The owner of the hacienda’s were called hecendado or patrón. Now, if you have a favorite tequila like Patrón, by all means use what you like best in the Mexican Mule.
Herradura – The Original Reposado Tequila
Not All Ginger Beer Is the Same
In case you’ve never had one before, ginger beer is not “beer” at all. It’s actually a soda. It’s very close to ginger ale except the ginger is a lot stronger. There are certain ginger beer brands that are so strong I can’t even drink them.
My wife is a huge fan of strong ginger beer, however she grew up drinking ginger tea when she was sick as a child. It’s an old Filipino remedy. Ginger beer is quite popular in Jamaica and the Caribbean Islands. It used to be that we could only find ginger beer in specialty Caribbean grocery stores. With the resurgence of the Moscow Mule, ginger beer has become quite the popular mixer.
Some ginger beer brands are very sweet to counteract the harshness of the ginger. I don’t like drinks with too much sugar content, so I found a brand that I enjoy; Fever-Tree Ginger Beer. It’s lower in sugar and has a softer “bite” than cheaper versions of ginger beer you may find in the grocery store. The ginger comes from 3 areas of Nigeria and the ivory coast making this ginger beer somewhat special. Fever Tree’s Website actually boasts that this drink has a long lasting “ginger character,” is award winning and is perfect for a Moscow Mule. I’d say it’s perfect for any mule drink.
Fever-Tree Premium Ginger Beer
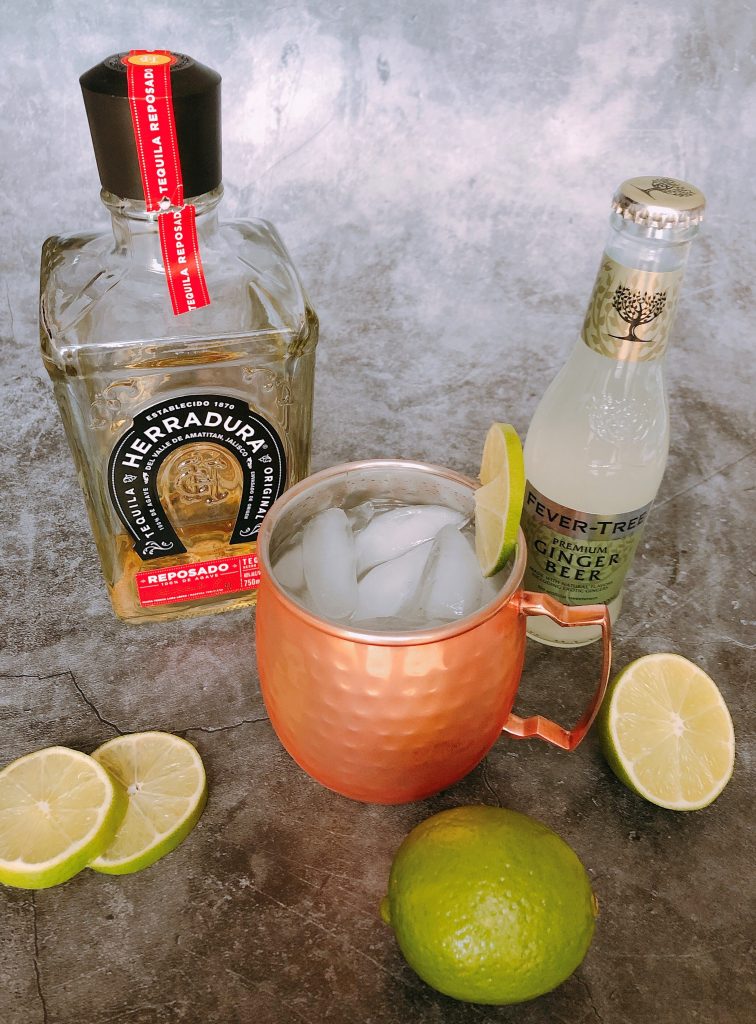
Only 5 items Needed!
Oh and what are the 5 items to make a Mexican Mule? It’s simple:
Copper Mug
Ice
Reposado Tequila
Ginger Beer
Lime
Well, it’s an honor to guest write for my son’s blog. I hope his “adult” readers can enjoy this one of a kind cocktail. I also hope that I’ll get a chance to share more adult libations with you in the future.
Only 5 Items needed in a Mexican Mule. 4 of them are ingredients (ice is an ingredient)! This twist on a Moscow Mule is inspired by Cinco de Mayo and replaces vodka with tequila. It's a quick, simple yet refreshing cocktail!
My name is Chef NelSazon and you guessed it, I love to cook. I decided to become a chef when I was 9 years old. My love of cooking came from my love of eating all types of food from different cultures. My cultural background is Dominican, Filipino and Black American. So, naturally I love Spanish cooking, Asian Cuisine and Southern Soul Food. Since I'm a child foodie of foodie parents my young palate was opened to many different cultures outside of my background and I love learning to cook what I eat. I was trained at home and at Summer Culinary Camps. I am currently in Middle School and I'm 13 Years old. Everyday I ask myself, "What shoud I cook for dinner?"